Post installation
After installing Appwrite and before accessing it, there are set of step, tools, and general tips you should know.
Setting variables
Your self-hosted Appwrite instance uses two files to manage all the needed containers, volumes, and networks all together composing your Appwrite server.
docker-compose.yml- This file contains all the declaration of the containers, volumes and networks requires running an instance of Appwrite.env- This file contains all the environment variable values. Those variables that can be past to one or more containers, and lets you modify Docker containers without having the need to change the container itself.
This file should be located:
- In a DigitalOcean one-click installation inside the
/root/appwritefolder. - In a Linode (Akamai) one-click installation inside the
/appwritefolder. - In all other cases those files should be in the directory in which you've executed the
docker composecommand.
Notice
The .env file - as any files that starts with . - is a hidden file in unix systems.
If you don't see the file when listing the directory files, then you need to run the ls command like such, telling the unix system to list all files.
ls -lahBefore using Appwrite there are few environment variables inside the .env file that are best to be set before using Appwrite at all.
You can use any CLI editor like nano for example, to edit the .env file.
nano .envThese are the variables you should set, and what each of them means:
_APP_OPENSSL_KEY_V1- This variable value is widely use inside Appwrite for encryption-related tasks.- It's vital to change from the default
your-secret-keyvalue and set as a random long string. (in case of automatic installation, this part is done for you). - Keep a backup of this variable value, in case it was lost you'll need to regenerate user passwords, API token, and more. it will be an unpleasant surprise.
- It's vital to change from the default
_APP_DOMAIN- This variable set the main domain in which you will access your Appwrite instance, insert your domain as is without any prefix. e.g.api.domain.com. If you don't have a domain, you can leave it onlocalhost._APP_DOMAIN_TARGET- This variable is used as the target domain name when you want to add custom domain to your Appwrite instance. usually it will be the same value as_APP_DOMAIN_APP_DOMAIN_FUNCTIONS- This variable is used as the target domain name when you want to execute function with direct endpoint._APP_EXECUTOR_SECRET- Change it from the defaultyour-secret-keyvalue and set as a random long string. (in case of automatic installation, this part is done for you).
The rest of the variables are imported but can be change later with ease.
After changing any of the .env variables you'll need to restart your docker compose infrastructure by running
dcoker compose down && docker compose up -dThis will run these two commands:
dcoker compose down- Shuts down all of your docker compose volumes, networks and containers. this doesn't delete your volumes or any persisted data you may have.docker compose up -d- Start up all of your docker compose volumes, networks and containers. the-dflag mean that you want to run the command indetachmode, making the command running in the background, releasing the terminal back to you.
SSL generation
Appwrite uses Let's encrypt to create your SSL certificate. When accessing Appwrite using the domain you've set in the _APP_DOMAIN value, or in any of the custom-domains you've added in any of the projects, Appwrite will generate the SSL automatically.
After you've a valid SSL certificate for your Appwrite instance you can change the value of _APP_OPTIONS_FORCE_HTTPS to enabled in your .env file forcing accessing your Appwrite only through HTTPS.
In case you've changed the domain, or you just want Appwrite to regenerate the SSL certificates you can run:
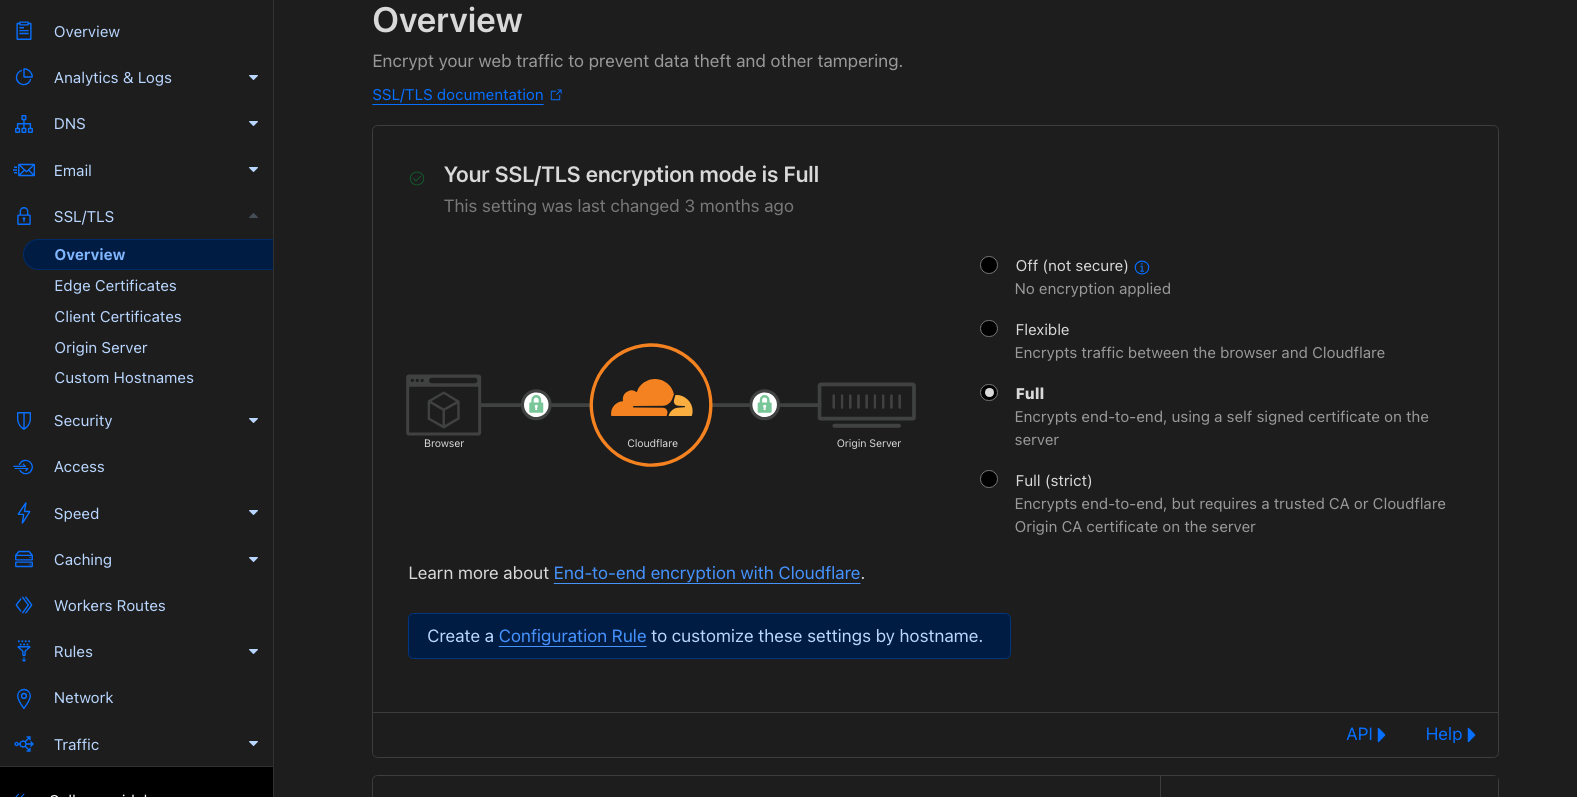
docker exec appwrite sslCloudflare & other HTTPS on DNS level
When using a services like Cloudflare that gives you HTTPS in the proxy level, it may still be necessary to have SSL certificate in the Appwrite server.
In Cloudflare, For example, go to SSL/TLS > Overview and change the mode to Full
Reverse proxy
In case you're using reverse proxy through Nginx make sure to reverse the proxy to https even though it uses an internal IP.
location / {
  proxy_pass  https://127.0.0.1:8090;
}
Lastly, when you use either reverse proxy or any DNS forwarder like Cloudflare, you'll need to add the trustedIPs value to traefik service in your docker-compose.yml file. Failing to that will make all your users IP as the reverse proxy one.
Here's two examples of setting the trustedIPs property, when your nginx uses 10.0.0.25 in this example. You can see Cloudflare list of IPs here.
services:
  traefik:
    image: traefik:2.7
    container_name: appwrite-traefik
    <<: *x-logging
    command:
      - --providers.file.directory=/storage/config
      - --providers.file.watch=true
      - --providers.docker=true
      - --providers.docker.exposedByDefault=false
      - --providers.docker.constraints=Label(`traefik.constraint-label-stack`,`appwrite`)
      - --entrypoints.appwrite_web.address=:80
      - --entryPoints.appwrite_web.forwardedHeaders.trustedIPs=10.0.0.25
      - --entrypoints.appwrite_websecure.address=:443
      - --entryPoints.appwrite_websecure.forwardedHeaders.trustedIPs=10.0.0.25
    restart: unless-stopped
...services:
traefik:
image: traefik:2.7
container_name: appwrite-traefik
<<: *x-logging
command:
- --providers.file.directory=/storage/config
- --providers.file.watch=true
- --providers.docker=true
- --providers.docker.exposedByDefault=false
- --providers.docker.constraints=Label(`traefik.constraint-label-stack`,`appwrite`)
- --entrypoints.appwrite_web.address=:80
- --entryPoints.appwrite_web.forwardedHeaders.trustedIPs=173.245.48.0/20,103.21.244.0/22,103.22.200.0/22,103.31.4.0/22,141.101.64.0/18,108.162.192.0/18,190.93.240.0/20,188.114.96.0/20,197.234.240.0/22,198.41.128.0/17,162.158.0.0/15,104.16.0.0/13,104.24.0.0/14,172.64.0.0/13,131.0.72.0/22
- --entrypoints.appwrite_websecure.address=:443
- --entryPoints.appwrite_websecure.forwardedHeaders.trustedIPs=173.245.48.0/20,103.21.244.0/22,103.22.200.0/22,103.31.4.0/22,141.101.64.0/18,108.162.192.0/18,190.93.240.0/20,188.114.96.0/20,197.234.240.0/22,198.41.128.0/17,162.158.0.0/15,104.16.0.0/13,104.24.0.0/14,172.64.0.0/13,131.0.72.0/22
restart: unless-stopped
...Admin account
Now that everything is set, you can access your Appwrite server IP or Domain.
You'll see the Appwrite console, which is the backoffice dashboard for using Appwrite, and you'll need to register.
The register option is open for one account only. Meaning, after one registration, no other user would be able to register for the console.
You can change that by modifying the _APP_CONSOLE_WHITELIST_ROOT variable.
Daily management
It's good to have a backup for your Appwrite server in the IaaS level like snapshots and weekly backups.
Also, it's highly recommended to also use some backup scripts like this one created by Steven, Appwrite core member.
After creating the backup, you can use tools like rclone to push that backup to a huge list of Cloud Storage providers.
Troubleshooting
The main container of Appwrite has few commands in the path that can be executed from the outside, just like with the ssl
docker exec appwrite sslHere are some of the available executables:
ssl- Generates SSL certificates.doctor- Generates a full report about your Appwrite instance.migrate- Runs Database migration, updating tables, columns etc. needed to be run after each minor upgrade.vars- Outputs all the.envvars available for the Appwrite container. useful for troubleshooting and verifying the environment variables values.
Docker problems
Appwrite use Docker to run the underlying infrastructure. Inside the docker-compose.yml file you can see that each container has this setting
restart: unless-stoppedThis means that any failing Docker container will restart in case of crashing, which means it's production-ready.
In case the crashing keeps happening, there are a few steps you can take in order to try to mitigate the situation. First, restarting the docker-compose file can be a useful first-aid solution, running this restarts everything:
dcoker compose down && docker compose up -dThen, running this command will print a list of all the Docker containers, active and inactive ones
docker ps -aNow you can try to spot which container is being reset and causing all the troubles by running this command that will print out all the log for a given container.
docker logs <container_name>
#for example
docker logs appwrite
Appwrite supports adding error reporting service like Sentry in the .env file.
Using a service like Sentry will produce much more detailed error than the logs one.
Upgrades
Appwrite upgrades are very easy to use and run.
Backup, Backup, Backup!!
It's best to always have a backup before upgrading.
Upgrading Appwrite is not a daily task rather a monthly one, adding backup to the process can make things difficult but will benefit you in the long-term.
Let's say the upgrade is from version 1.4.11 to 1.5.3.
The upgrade of Appwrite can be done in two ways.
Manual
The manual way is usefully in case you've made some changes to the docker-compose.yml file.
Edit the docker-compose.yml file and change all Appwrite images version from 1.4.11 to 1.5.3.
image: appwrite/appwrite:1.4.11
image: appwrite/appwrite:1.5.3
Then, restart the Docker compose infrastructure.
Automatic
Navigate to folder above the one contains the docker-compose.yml.
For example, if the docker-compose.yml is inside /root/appwrite, then run this command from the /root folder.
docker run -it --rm \
  --volume /var/run/docker.sock:/var/run/docker.sock \
  --volume "$(pwd)"/appwrite:/usr/src/code/appwrite:rw \
  --entrypoint="upgrade" \
  appwrite/appwrite:1.5.3
INFO
This command is the same as the one used for the installation, with upgrade as the entrypoint.
Migration
When upgrading Appwrite from one minor version to another you'll need to run migrations.
The migration script is in-charge of upgrading and changing the database structure, so it will match the up-to-date version of Appwrite.
To migrate the database, run:
docker exec apppwrite migrateSecurity
For everything related to security, console protection and more, check the Security page.